Snowboarding is a winter sport that can either be recreational or competitive. This sport consists in riding down a snow-covered surface, while standing on a snowboard. It is a sport that developed in the 1960’s, and grew in popularity up until now.
If you are just starting out with this sport, and are very eager to get on your snowboard and give it a try, you first have to know how your equipment works, and how to put on your gears before heading down the slopes and starting to carve turns.
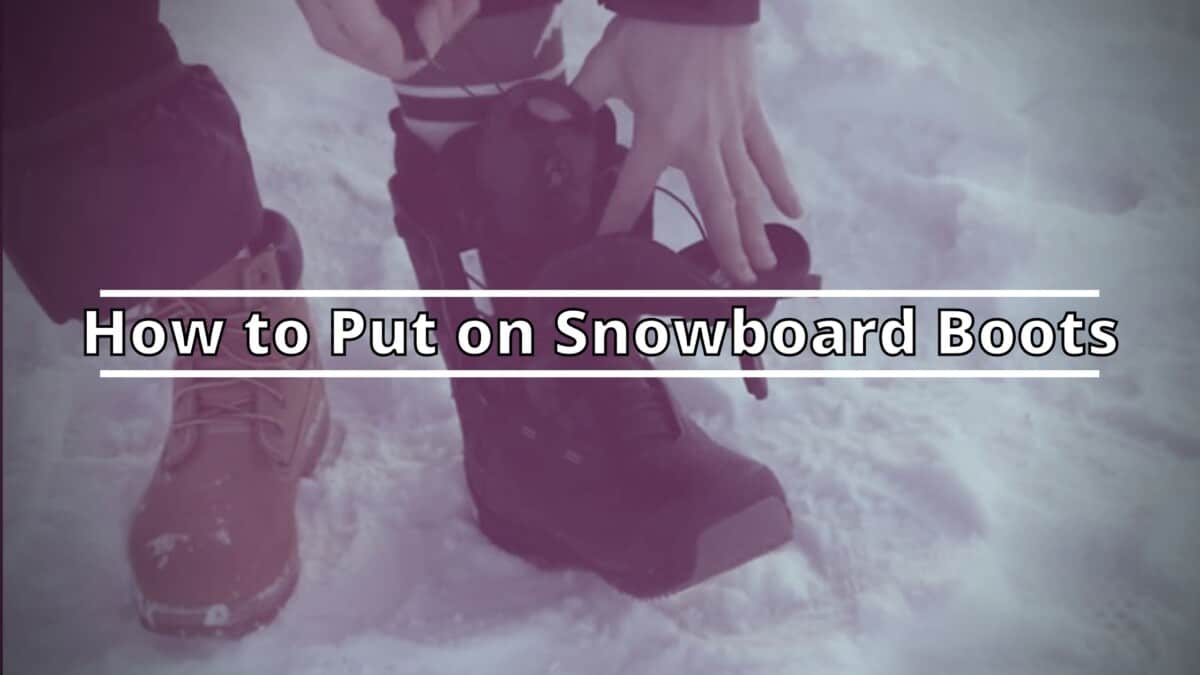
To put on your snowboard boots, start out by wearing a single pair of socks. Then, open the boot, slide your foot in, and then lace up. It may seem like it’s as easy as putting sneakers on, but there is a proper process to it. To find out how to properly put on your snowboard boots, read our guide below.
A good pair of snowboard boots is one of the most essential pieces of equipment of your snowboarding kit. You need to choose a pair that perfectly matches your riding style and the snow conditions that you frequently tackle. If you’re not sure about which pair to get, check out our best snowboard boots buying guide to know which shoes are perfect for you.
Before putting on snowboard boots
Before putting them on, you have to find the right snowboard boots for you. Snowboard boots that fit you well can make a big difference, and can either make or ruin your day on the slopes. Having the proper-fitting snowboard boots can help you carve or make turns easier, and control your snowboard better.
You have to take the time to find the right snowboard boots that fit the shape of your feet and your riding style. However, beginners may choose to have a softer-flexing boot for comfort, while more advanced riders may choose stiffer boots, which will offer greater edging power and control.
Steps to put on snowboard boots
- Wear a single pair of socks. This means do not layer multiple pairs of socks. It is always best to use merino wool socks or synthetic socks. These socks should have the ability to wick moisture away from the skin, and should be able to retain warmth. Avoid socks that are made of cotton, as they will absorb moisture when you sweat, and do not dry quickly, which will make your feet colder. There are snowboard-specific socks that go up to the knees, and will provide your shins with additional cushion and protection.
- Take socks that are completely dry, and then pull them up all the way. You should avoid wrinkles that can bunch up in your boots, because this may lead to blisters. Also, you should avoid tucking in your base layers, if possible. It is better to leave your snow pants out of the boots.
- Pull the tongue of the boot’s liner and its shell forward, and then loosen all the laces on both the liner and the boot’s outer lacing systems to open it up. Reach inside the boot to check for anything that may be stuffed in the toe.
- Next, slide your foot into the boot by grabbing the tongue, then point your toe straight into the boot, and in one cautious motion, pull the tongue up, and then out as you stand and step into your snowboard boot. When your foot is already in, make sure that the liner tongue is positioned under the sides of the liner, and that the shell tongue is overlapped by the sides of the boot’s shell.
- Once you have both tongues aligned over your shin, you then have to tap the heel of the boot on the ground. Doing this will set your heel in the pocket. If it is the right size boot, it may feel very tight at this point. However, your foot is not yet in the riding position, and it may also feel too short in the toe.
- Before you start lacing up, make sure that the liner is tucked in, and against your shin.
- Stand back up, and then tighten the lacing system on the liner. However, be careful not to over tighten it, as this may result in poor circulation and pressure points on the instep.
- Tighten the inner liner lacing, and make sure it is snug and hugging your shin. *How you fasten your laces will depend on the lacing system your boots have.
- Traditional: Tie the laces together, just like you would do with sneakers. Tie them by starting at the bottom, and then work your way up to the top. Make sure the laces are snug as you move up.
- Quick-pull or speed lacing: This lacing system involves a single tab or handle that grasps the laces together. Disconnect the locking system to release tension on the laces, and loosen them up. Then pull the tab up to tighten its laces. Next, lock it in place, and then roll up the extra lace and tuck the tab to the side. Most boots come with some built-in pockets, so you can clip or tuck away the tab.
- Boa system: This lacing system will allow you to tighten your snowboard boots using one or more dials. First, you have to push the dial in to be able to operate the lacing system. Then, turn the wheel clockwise to tighten the laces, and adjust it to your fit. Some boots may have separate dials that cinches the upper and lower parts of the boot. To get out of the boot, you just have to pull the dial out to release the tension on the laces.
- After tightening the inner lacing, you have to tighten the shell lacing. Work your way up from the bottom. Pull the shell’s laces tight as you lace the boot up all the way to the top part. However, for zonal quick-pull or Boa® systems, you first have to tighten the lower zone, and then the upper.
- With both boots on, stand in a riding stance with your feet shoulder-width apart, and then flex the snowboard boots forward and back. Then, move your weight from side to side. Your snowboard boot should feel snug, and your heels should only lift up a little while flexing the boot forward. If you want to know if your boots fit in your bindings, you can strap on your snowboard and stand on the carpet.
- To get the proper fit, you may want to spend some time standing in your boots to feel if there are any pressure points. Your toes should brush the end of the boot when you wiggle them, but they should not curl. Any extra room that you are feeling while doing this will be noticeable when riding. Plus, after a while, the foam padding packs out. Note that brand new boots are the tightest they will ever be, and that liners will gradually pack out up to a half-size.
To have a proper visual on how you can put your boots on, watch this video.
Making sure you have a good fit
- Your snowboard boots should always be laced tightly, yet still feel snug and comfortable. Therefore, you shouldn’t feel any pressure points on your feet, and your ankles and heels should be positioned and secured in place.
- When you are standing up, your toes should slightly touch the boot’s front liner, thus, you shouldn’t be able to wiggle nor curl your toes that much.
- Note that when you flex your knees, your heels should remain locked down, as too much heel lift can lead to ankle or foot pain.
Choosing a good pair of snowboard boots is essential for any snowboarding trip. Looking for the perfect pair can be a bit tricky which is why we came up with a guide on how to choose snowboard boots.
Strapping into your snowboard bindings
The most common type of snowboard bindings is the strap-in bindings. Rear-entry and step-in bindings are the two others. Strap-in bindings have these straps that ratchet down to be able to secure your feet. To get into this set up, follow the steps below.
- Position your board on a relatively flat surface that is perpendicular to the fall line. Doing this will keep the board from sliding away from you.
- You also have to make sure that the highback or the binding piece that folds up and down, and straps are out of the way, and that the base is clear of snow.
- Next, step into the front binding. Which foot leads downhill depends on the way your binding was set up, whether you have a regular or goofy stance. For now, you do not have to worry about your free foot as you will have to strap into the front binding first, before using your free foot to skate across the snow.
- Once you step into your binding, you have to make sure that your heel is snug against the highback, which supports your calf.
- Next, ratchet down the ankle strap first, to be able to set your heel into the binding, and then fasten the toe strap. Note that your foot should feel snug and secure without pinching.
- Finally, you have to strap the second foot into the board whenever you are ready to ride.
Buying snowboard bindings and snowboard boots should come hand in hand. If you’re still on the lookout for quality snowboard bindings, check out our top recommendations of the best snowboard bindings available in the market today.
Getting out of your bindings
When you are to use the chairlift or get around on flats, you have to take your back foot out of the binding to be able to skate around.
However, most bindings release if you pull up on the ratchet for the straps to loosen.
Conclusion
Getting familiar with your equipment is always the first thing that you should do after you acquire it. This is best done before a trip so that you will have enough time to know how things should work. This will save you time and prevent stress during your trip proper.
Putting on snowboard boots may seem like a simple task. After all, wearing shoes is something that we do almost everyday. When it comes to snowboard boots, aside from putting them on your feet, you also have to strap them to your snowboard bindings. Doing this properly and efficiently may take some time and practice. You should practice doing this before your trip so that when you get to your snowboarding location, you will no longer have to worry about wearing your snowboard boots because you’ve already mastered how to put them on.