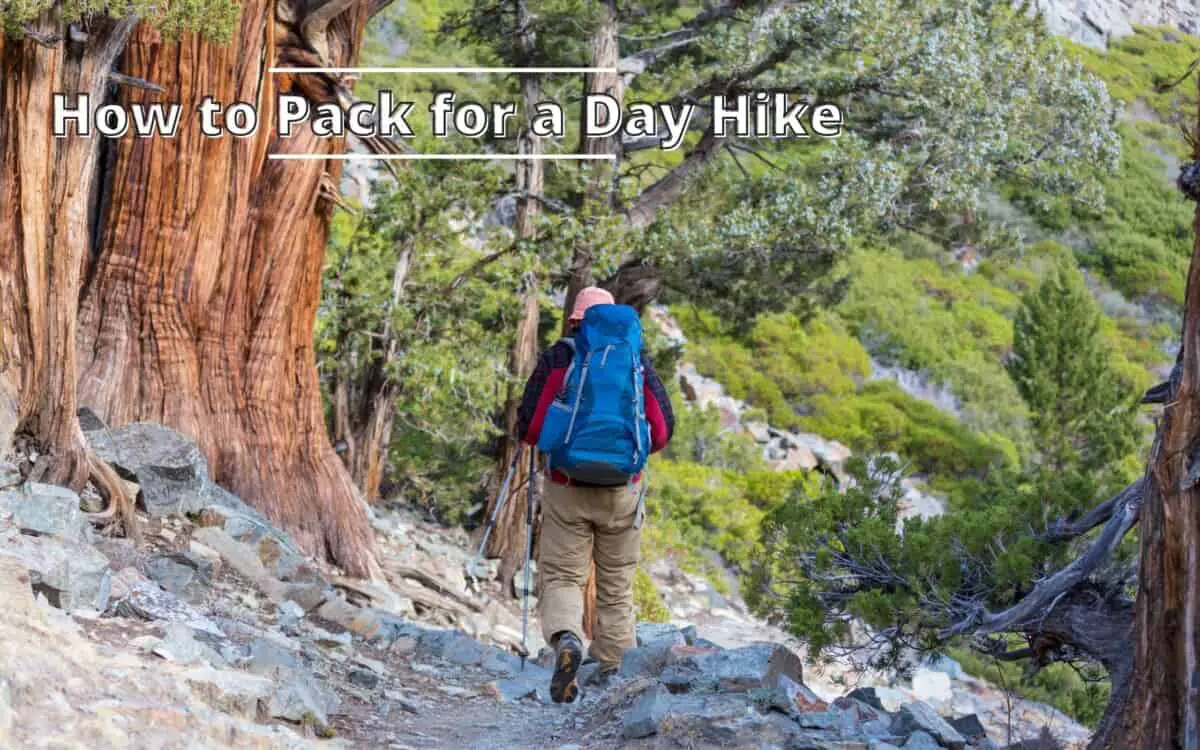
Nobody wants to experience a quick day hike trip with excessive weight on their shoulder. Imagine the heavy load and muscle pains you’ll go through by the time you get back home. Instead of enjoying your day out in nature, all you will be able to think about is the pack on your shoulder.
We know how this experience feels, which is why we have come up with this article in which we help you decide on what to bring and how to pack your bag for a day hike.
Packing for a day hike requires you to consider several vital steps such as creating a checklist, pack layering, understanding the features of your backpack, and how to avoid overpacking. You need to remember that the most essential things should be packed before the less important ones. Be meticulous in choosing your gears and stuff as it will greatly affect your hiking adventure.
If you are new to hiking, you have probably heard about the different types of hiking, like backcountry hiking and frontcountry hiking. What’s the difference between the two and which kind of hiking is for you? Read our article to learn more about the differences between backcountry and frontcountry hiking.
Creating a day hike checklist
If you plan to go on an adventure, there are key things you need to remember. Of course, this is typically applied in the packing aspects of your stuff and equipment. In this review, we will be discussing the important things you should consider when packing your things for your hiking escapade.
The first one you should do is make a checklist. Below, you will find a sample list that we have created for us, which helps us narrow down the important things that we need to bring:
- Food and water
- Multi-tool pocket knife or multi-tool equipment
- Hiking footwear
- Backpack
- Appropriate clothes for hiking
- Compass
- First-aid kit
- Necessary body essentials or medicine
This list is not only enclosed and limited to the things we enumerated above, but the other materials and equipment you want to incorporate in each factor of the list are up to you.
For example, under navigation materials, you can either bring a compass or maps. In the category clothing or footwear, we suggest you wear clothes that are appropriate for the weather of the place you are going to or bring extra jackets, raincoats, long sleeves, hats, and boots if the place is cold and if it rains often.
For food and water, we advise you to bring sufficient stocks and prioritize trail snacks. As for the first-aid kit, it will fall under emergency materials. Even if you are going to a mountain or place without stores, you still need to bring money, an identification card, and a cellphone. This will go in the personal items, wherein you can also include hygiene essentials.
You should also bring tools and repair materials in case you need to fix your gears. Other equipment may include a flashlight, binoculars, notebooks and pen, etc.
Understanding pack layering
Packing will surely eat up space in your backpack so you need to be careful in compressing and choosing the things you need to bring. But before packing, or if you are still on the verge of searching for the right backpack, we recommend you to read our article “How to Choose a Hiking Backpack.”
Now, let’s go back to your packing strategy. Since you already have a hiking checklist, collect all of the stuff that you have written down, then lie them on the ground. What you need to do next is organize them inside your backpack.
There are different partitions on your pack: the bottom, core, top, accessory pockets, and tool loops.
-
Bottom
We recommend you to put your huge and heavy stuff, which is less to be used during your hiking, in this section of your pack. For instance, that is where you can put your sleeping pads or camping mats, extra shoes or boots for camping, and other essentials that you may need when you camp.
-
Core
Since this compartment is located in the middle, you can put your moderately heavy items. We suggest you place your cooking equipment, food, and water supply in this section.
-
Top
This is the part that is totally accessible when you are hiking, so place the most essential and commonly used items you’ll be needing in this division. You can put your jackets, a first-aid kit, and other hygiene essentials, for example.
-
Accessory pockets
Although you have the top area to store your significant things, visualize and organize the small and larger stuff. This division is best for basic materials that you will be frequently using while on the trail. We recommend you place your personal items, navigation materials, water tumblers, and snacks there.
-
Tool loops
Apart from the enumerated compartments, some backpacks are also designed with attachment points, which allow you to link in some loops for your bulky gears. Such loops are originally engineered by the manufacturers for the gears that you can’t place inside your backpack. Most people are usually using them to carry axes, shovels, and other oversized materials.
Hiking is an excellent way to get some much-needed respite from the big cities, but it doesn’t have to be cumbersome. Have you ever had a backpack that was simply too heavy to continue hiking comfortably? Free yourself from the discomfort and follow our 6 tips for hiking without a backpack.
Understanding the features of your backpack
As we have already talked about the possible items you can put inside your backpack and the partitions you can utilize, let’s discuss the different features of your backpack.
Manufacturers have designed numerous types of backpacks that may suit your needs in terms of hiking. But what are the features you should know about? When we started our journey with our hikers, we gradually learned about the different areas and features of hiking backpacks.
-
Main zone, or brain section
This is located at the top part of the pack, which is commonly utilized to store easy-to-grab items or the things that you will be needing when you are trekking or hiking.
In the previous section of this review, you can find the items we suggest you store in the top zone.
-
Front pouch
This is positioned on the front surface of the backpack, which is sometimes zippered. A hiker can place their wet raincoats inside or any items that may fit their needs as long as it is lightweight. This area is also called the kangaroo pouch.
-
Hip-belt pocket
The hip belt pocket is best to be used in storing your trail snacks and often used essentials. As the name hip-belt pocket suggests, you can locate this area on the hip belt of your backpack. However, note that not all backpacks have this feature, so it is best to properly examine the features of a backpack before buying it.
-
Water bottle pocket
This is where you can place your water tumbler or bottle for easy access if you are traveling. Of course, you can also use this space for storing other gears that can fit in there, like detachable tent poles.
How to avoid overpacking for a day hike
There is a huge possibility that you overpack when you are going backpacking. It may result in you not being able to bring other essentials because you packed excess materials that you may not be using during your hiking trip.
- Always remember that your backpack works as supplemental storage where you can put your things. However, be attentive to the type of adventure you are planning. Always ask yourself whether what you packed is actually appropriate to the type of trip you will partake in.
- When you are backpacking, you should remember the most vital needs for your adventure. We suggest you prioritize your sleeping bag, extra clothes, tent, food, and water. These are the key materials you should stuff first.
- The next thing you can insert in your backpack is the second to most needed materials. We recommend that these be your personal items, emergency kits, and repair tools since these are considered to be small. Expect that there are allowances you can still use.
- Bear in mind that the last items that you are going to put inside your backpack are the least essential for your hiking trip. These are the things that you don’t want to leave behind but can survive without. For example, your shades, notebooks, and pens. Although these are helpful, sometimes, they won’t fit inside your backpack, so be cautious.
Once you’re done packing, you will feel assured that all of your needs are inside the backpack. But, also focus on your checklist to avoid forgetting anything. According to our hikers, making a list really is a great advantage.
Looking for your next hiking destination? We recommend that you check out the Cloud’s Rest hike and Half Dome hike in Yosemite National Park. You can also hike to the bottom of the Grand Canyon.
Conclusion
Security in terms of the completeness of your essentials, and confidence that you packed everything before you go to battle are elements that you should focus on when you’re going on a day hike. Your checklist is the salient reminder you need to take care of first because its absence will result in many consequences and struggle while you are on trial. Thus, it is better to guarantee the materials inside your backpack.
How you pack your stuff also matters because being careless and inserting everything will cause you to overpack. You should always prioritize the most essential things and strictly define the impractical things that may not be helpful on your journey.
Lastly, understanding the features of your backpack is also important as it will help you identify the stuff that you can insert into the different compartments, and how pack layering works. With such, you can formulate ideas on how to compress and be thrifty for the space in your backpack.